|
81.6 Starting Workflow |
  
|
|
81.6 Starting Workflow |
|
81.6.1 Go to "Business Contact" screen -> click "Job" tab -> click "New Job" button
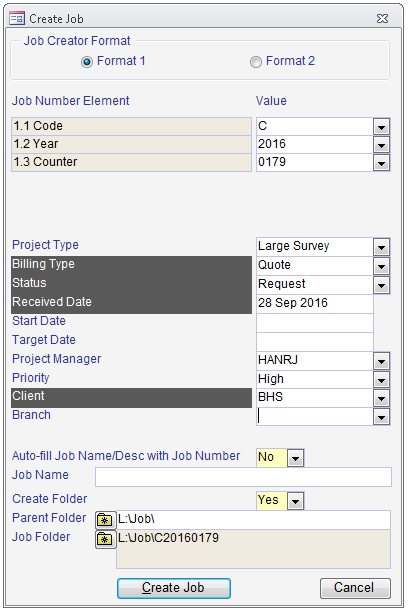
When the "JobCreator" dialog appears,
Fill all required fields and any others you need.
In the "Job Type" dropdown, pick the type of job you want to create. This will then fill the job with the template workflow from the corresponding template job you created in "Set Up Workflow Templates & Configuration".
NOTE:
The "Job Date" sets the estimated start date and is the basis for using relative offsets to calculate and fill all estimated dates in all actions in the workflow.
Click "Create Job"
When the "Job" screen displays the newly created job,
Go to the "Workflow" tab or "Task -> Workflow" tab
Review the Workflow in the summary section in the upper half of the screen
Add, change or delete workflow steps
Verify and adjust estimated start and end dates
Verify and reassign roles when necessary
When you are done,
Nominate a step to start the workflow at in "Start Workflow at Step"
Click "Start Workflow"

)