|
61.3 Set up Latitude to export Timesheets |
  
|
|
61.3 Set up Latitude to export Timesheets |
|
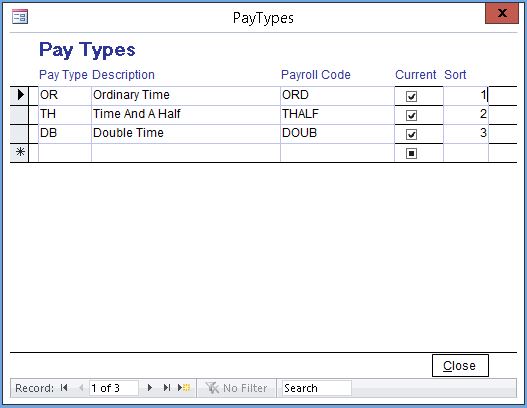
61.3.1 Set up Pay Types

On the Home screen, click "Lookup Tables" and select "Pay Type".
Pay Type - A Two-letter code easily learned by users to record Pay Type during Timesheet entry, for example you may use "NT" for Normal Time
Description - Description of the Pay Types
Payroll Code - the code from your Payroll Software that you want to associate with this Pay Type in Latitude. If exporting to MYOB this is the Payroll Category.
Current - If checked, the Pay Type will be available in use in Timesheet Pay Type entry field
Sort - Determines the order in which the Pay Types will appear in the drop-down list for the Pay Type on the timesheets form.
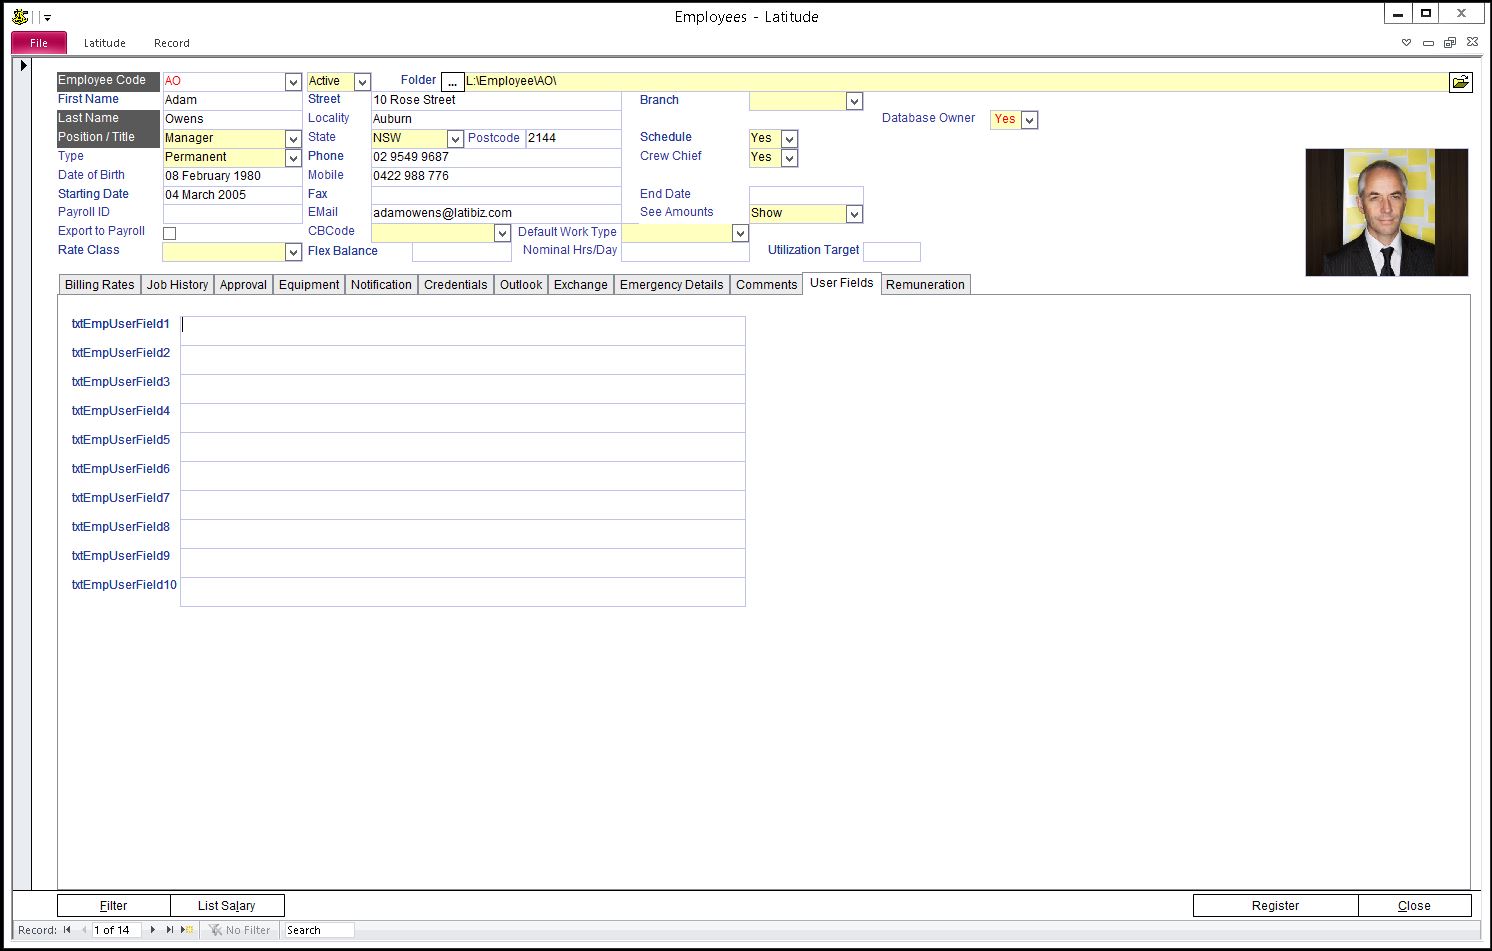
61.3.2 Set up Employee

On the Home screen, click "Management" and select "Employee". Enter/Review Employee name, it must be an exact match in your Payroll Software, including case (i.e. the Capitalisation) and spacing.
For MYOB - Enter their "Payroll Id" and tick the "Export To Payroll" field.
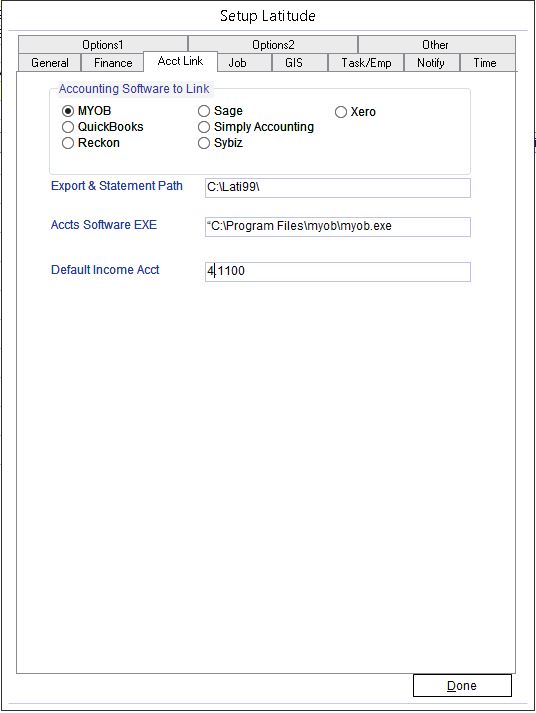
61.3.3 Set up an Export Path.

On the Home screen, click "Administration" select "Setup" and click "Acct Link" tab. Select the "Accounting Link" tab and choose one of the Accounting Software programs. If you do not use any of these you will still need to select one to be able to set an Export Path. If you are not linking to an Accounting program, ignore the other fields.
For MYOB or PowerPay - Enter the "Export Path". Export Path is the location where the Payroll export files are to be saved (we recommend using the same location as your Latidata.mdb).
For QuickBooks - The link to QuickBooks is a direct one, where Latitude imports Timesheets directly into QuickBooks. To do this, Latitude and QuickBooks must be accessible on the same workstation or terminal for users who want to use the Accounting Link.
)
)
)