|
36.3 What are the Fields on a Register Item |
  
|
|
36.3 What are the Fields on a Register Item |
|
36.3.1 When creating a new Register Item, the Register Type, Client, Date, Job, Task Code and Entry By fields are filled-in based on how the Register Item is created, the criteria selected and the current user's login.
36.3.2 Status
Select Register Status from the dropdown list.
(Business Edition / Corporate Edition ONLY)
If "Use Simple Notify" option is unticked, notifications are sent to the group or employee if the register item has a status flagged as "Notify". Otherwise, it is ignored.
From Main Menu -> Lookup Tables -> Diary/Notify Status -> tick Notify box for every status you want notified.
36.3.3 Date
When creating a new Register Item the Date is set to use the current date. Change date to record previous, current or future items.
This date can be used by the Notifier to select register items to be included in the Notification list and Email Notifier emails. (Business Edition / Corporate Edition ONLY)
36.3.4 Entry By
This is auto-filled using the current users login name.
36.3.5 Notify (Business Edition / Corporate Edition ONLY)
If "Notify" is enabled in Setup Latitude, select the employee name to send notifications as soon as they login to Latitude as well as an email.
36.3.6 Notify (Business Edition / Corporate Edition ONLY)
The time of day the pop up notification will appear
The default time is set in the Latitude setup screen
For more information about the Notify Time field refer to "Popup Reminders" Category in this How To Guide.
36.3.7 Notify (Business Edition / Corporate Edition ONLY)
The number of hours of minutes prior to an event you want to be warned with a pop up
For more information about the Remind Them field refer to "Popup Reminders" Category in this How To Guide.
36.3.8 File
If you use a filing system other than Job numbers, the File field allows you to specify the File location.
36.3.9 From/To
Select Employee or Contacts from the dropdown list
36.3.10 Re
Use the Re field to enter a short description of what the Register Item is about.
36.3.11 Memo
Enter in the memo field a full description of the Register Item OR in the case of Letters, Faxes and Email type documents, the actual text that the Letter, Fax or Email contains.
36.3.12 Create standard Memo Text
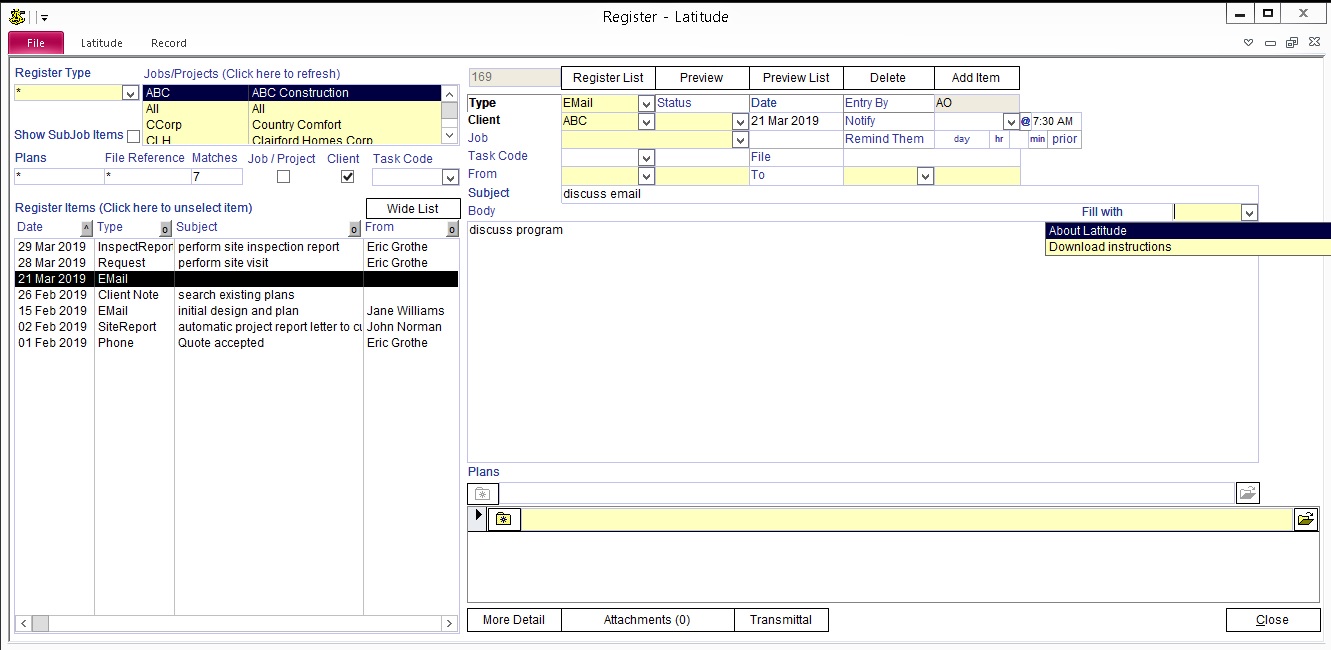
Next to the 'Memo' label is a light yellow combo box. Click the arrow and select any existing memo name to see the standard text it contains. When you choose one of these Standard Texts from the list, its contents will be displayed in the Memo box. You can make modifications to the memo without affecting the stored Standard Text(s).
To add a new standard memo text for later use, double-click on the yellow colored combo box.
Enter a Memo Name
Enter standard text and format based on how you want it displayed on the memo field
Click Close
The next time you create a new Register Item, click the dropdown arrow and select the memo name and the contents will be placed on the memo field.
36.3.13 Plan Number
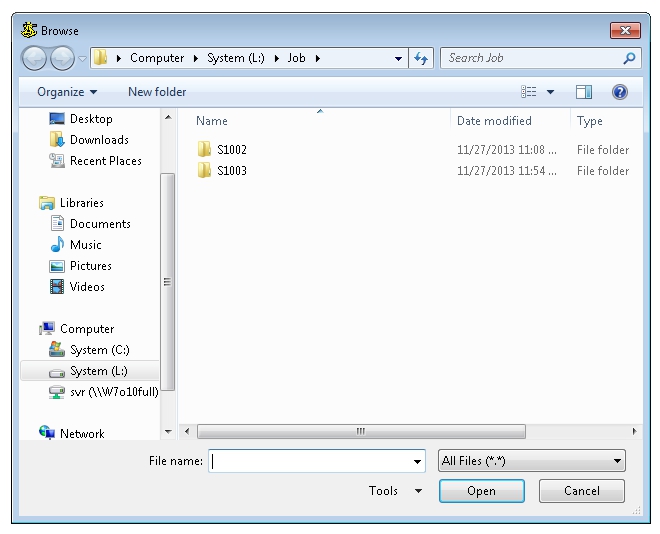
The "Plan Number" is a special field where you can attach a single file or track plans entered in the Job/Project -> DP field. Alongside this field is a Browse/Find File icon followed by the File Name box and finally the Open File icon.
Example:
You are entering a new item into the Register that is a CAD File someone has created using AutoCAD and you enter the file path as "H:\Job1\CADFiles\CONTOURS.DWG" into the File Name box. If you then click the Open File icon, Latitude would attempt to launch AutoCAD and load the CONTOURS.DWG file for you.
NOTE: See further notes on the "What is the Latitude Application Launcher" Category in this How To Guide.
36.3.14 Use Multi-Attachment

By default, Latitude is set to use Multi-Attachment.
NOTE: To disable the option, go to 'Administration' and select 'Setup'. Go to the 'Option2' tab, and unselect the 'Use Multi-Attachment' checkbox.
For earlier versions of Latitude, the system will transfer your attached file from the Plan Number field to the Attachment field. To attach files, click the 'Use Multi-Attachment' checkbox and locate the files by clicking the Browse button (folder with asterisk). You attach a folder or a file by entering the path and folder name or filename on the yellow field. Alternatively, you can drag and drop folders and files on the Register screen.
Use Windows File Picker to Rename or Move a Register Attachment
The Windows File Picker allows you to rename or move a file the way Windows Explorer works.
NOTE: When renaming a file, you will need to select the renamed file again to populate the Filename field with the correct filename. This limitation is not caused by Latitude but is inherent in Windows.
36.3.15 Link files across the Web
The Latitude Register File attachment can store URL's using HTTP/HTTPS web protocols. It allows you to enter any kind of url whether it is a link to file, webpage, webservices or even REST-compliant urls. It does not matter whether the url is outbound or internal as long as Latitude can connect to it.
Link online documents
In the Register Attachments window, copy-and-paste document URLs to serve as references to the documents
Double-click these URLs and Latitude opens the document inside your default browser
36.3.16 DistribRule Register Type Fields
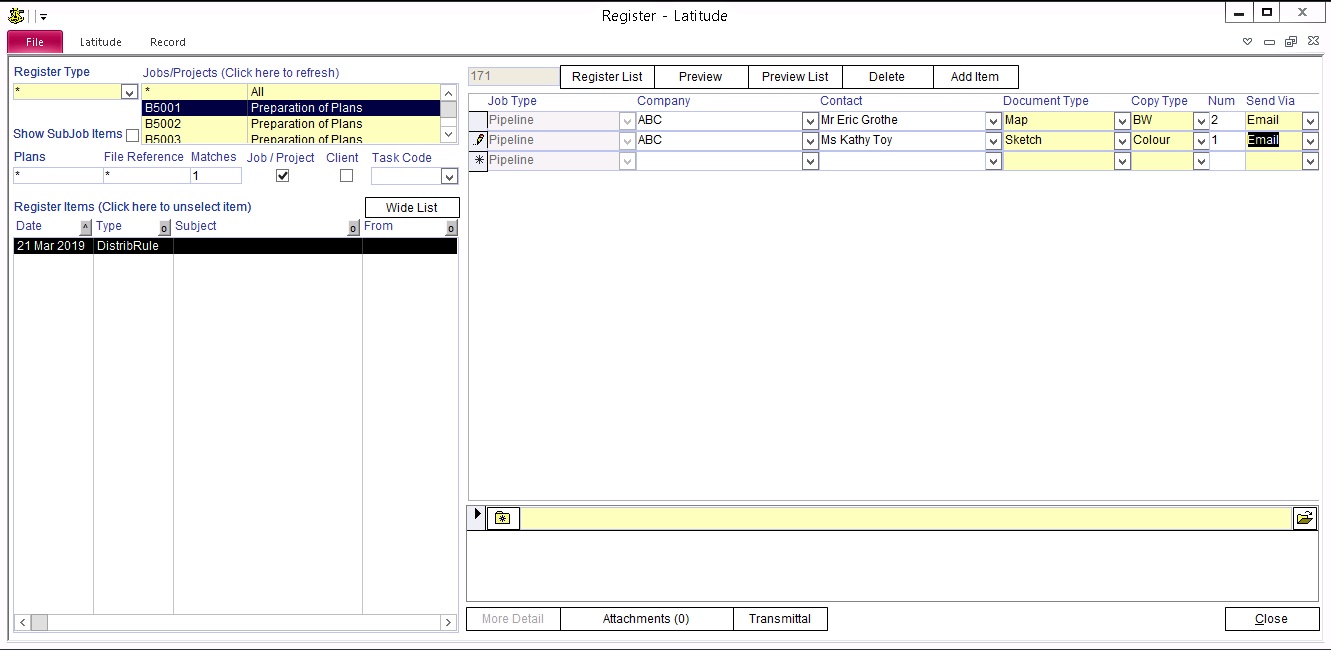
The DistribRule register type is used to record and track data of documents that are to be sent.
In these fields:
Job Type - Select from the drop-down the job type relating to the document to be sent.
Company - Select from the drop-down which company the document is going to be sent.
Contact - Select from the drop-down who will receive the document.
Document Type - select from the drop-down what kind of document is going to be sent, e.g. sketch plan, certificate, and photo.
To add a document type:
Double-click on the yellow field.
Add a code and description.
Enter a number in the Sort field to organize the drop-down list according to the Sort number.
Click the Current box if you want to display the document type in the drop-down. Otherwise, leave it unchecked.
Click 'Close' to save.
Copy Type - Select from the drop-down between colored or monochrome (black and white).
To add a copy type:
Double-click on the yellow field.
Add a code and description.
Enter a number in the Sort field to organize the drop-down list according to the Sort number.
Click the Current box if you want to display the copy type in the drop-down. Otherwise, leave it unchecked.
Click 'Close' to save.
Num - Enter the quantity of documents to be sent.
Send Via - Select from the drop-down the method of sending the document.
NOTE: To add a transmittal method, please contact Latitude.
36.3.17 DistribTrans Register Type Fields
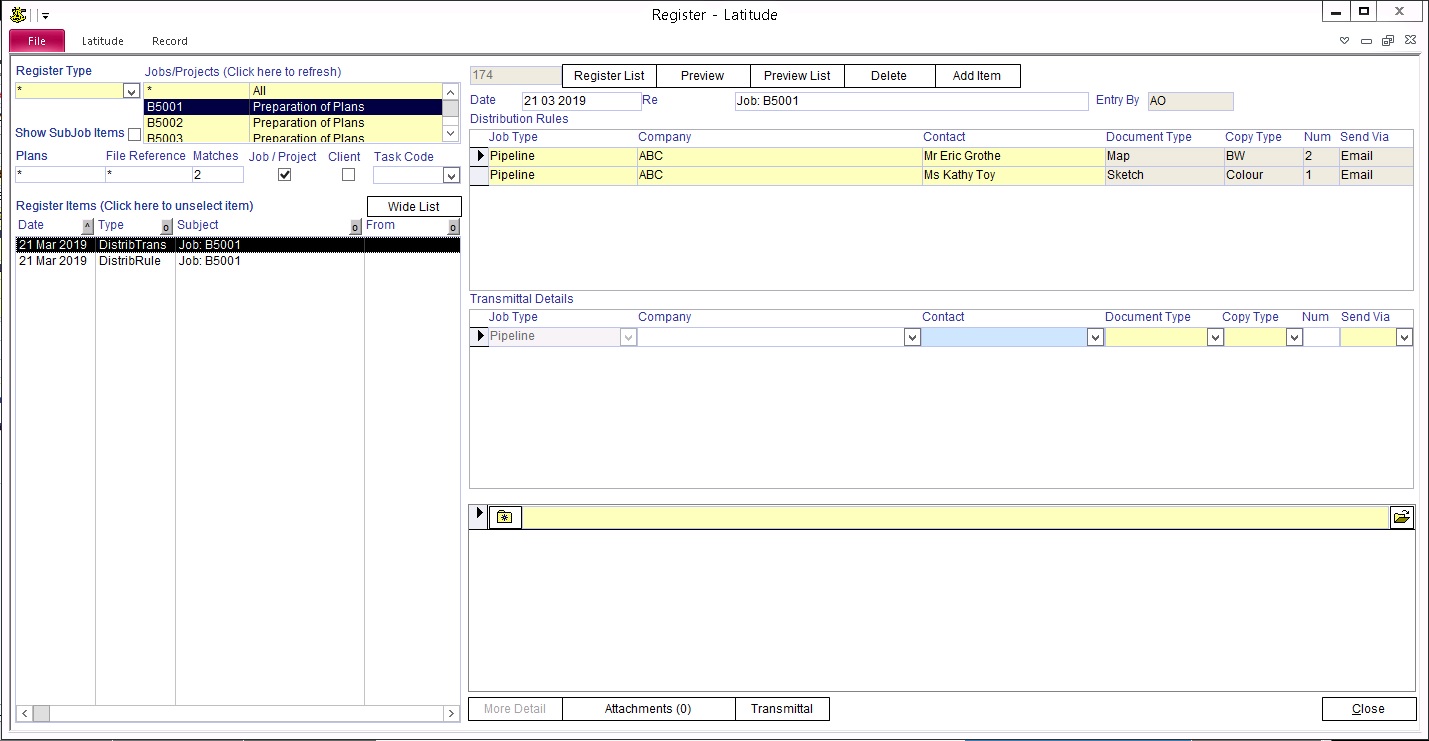
The DistribTrans register type is used to record and track data of documents that have been sent.
In these fields:
Job Type - Select from the drop-down the job type relating to the document that has been sent.
Company - Select from the drop-down which company the document was sent.
Contact - Select from the drop-down who received the document. You can modify the contact who received the document, if he/she is not the contact listed in the precedent DistribRule register type.
Document Type - select from the drop-down what kind of document is going to be sent, e.g. sketch plan, certificate, and photo.
To add a document type:
Double-click on the yellow field.
Add a code and description.
Enter a number in the Sort field to organize the drop-down list according to the Sort number.
Click the Current box if you want to display the document type in the drop-down. Otherwise, leave it unchecked.
Click 'Close' to save.
Copy Type - Select from the drop-down between colored or monochrome (black and white).
To add a copy type:
Double-click on the yellow field.
Add a code and description.
Enter a number in the Sort field to organize the drop-down list according to the Sort number.
Click the Current box if you want to display the copy type in the drop-down. Otherwise, leave it unchecked.
Click 'Close' to save.
Num - Enter the quantity of documents to be sent.
Send Via - Select from the drop-down the method of sending the document.
NOTE: To add a transmittal method, please contact Latitude.


)
)
)
)