|
52.3 Timesheets |
  
|
|
52.3 Timesheets |
|
52.3.1 Enter Timesheets

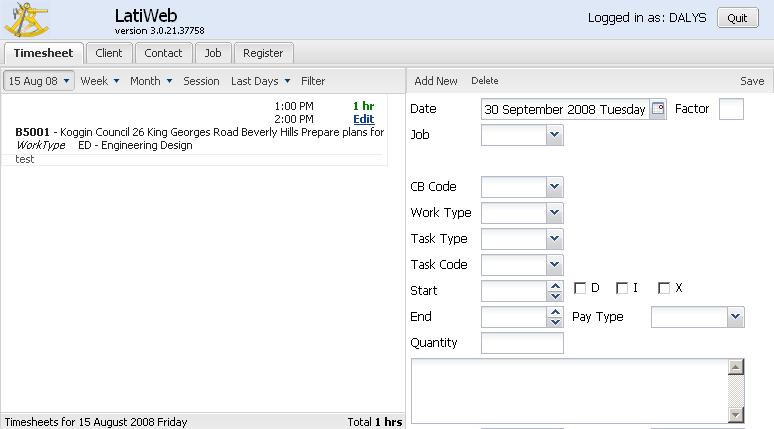
The Entry Section (2) is located on the right portion of the Page. Click Add New to enter a new timesheet or double-click on an existing timesheet in the View Section to display details during Edit or Delete.
Add New Timesheets
Click Add New button
Select Date from the Calendar
Select Job
Select CB Code if you are using CBCodes
This gets auto-filled based on Job CBCode
Leave blank if not using CBCode
Select Work Type
This gets auto-filled if default employee work type is set
Select Task Type
Select Task Code
Task Code is required if there is Task Timesheet restriction
Enter Start time
Enter End time
Enter Pay Type (optional)
This data is used if you link to a Payroll system, such as PowerPay, MYOB
Enter Quantity
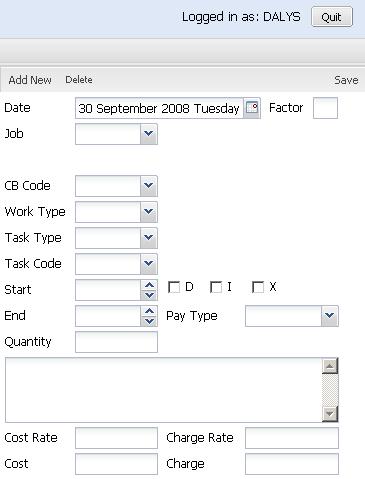
Start and End times are optional. If used Latitude will determine the Qty by the Start and End time you enter. Alternatively you may enter a Qty without Start and End times. After the Qty is entered, Latitude calculates the total cost and charge amounts for this timesheet entry.
Enter description in the text field
This gets auto-filled if you have set to use the work type or task description (Administration -> Setup -> Options1 -> Timesheets -> 'Set Description default based on Task' or 'Default Description to Work Type Description'
Click Save
52.3.2 Edit existing Timesheets
Locate and view Timesheet to edit
Double-click the timesheet to be edited
Make necessary changes in the Entry Section
Click Save button
Click Yes to save changes
NOTE:
Changing the Start or End fields displays a message “Do you want to overwrite the Hours Worked?” Click Yes button to save changes.
52.3.3 Delete existing Timesheet
Locate and view Timesheet
Double-click the timesheet to be edited
Click Delete button
Click Yes to confirm message “Are you sure you want to delete this timesheet?”
52.3.4 View Timesheets

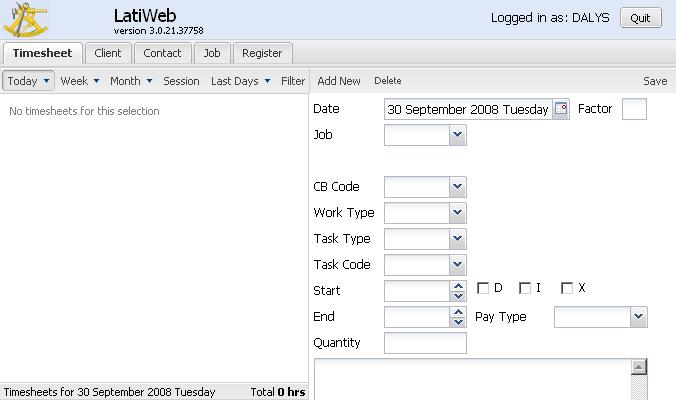
The View Section (1) is located at the left side of the Timesheet Page. By default, it shows the current day’s timesheets. View Timesheets by Day, Week, Month, Session, Last Days and Filter.
View Timesheets by Day
Click the Today tab
The default date is the current date. To view timesheets for a different date, click on the desired date in the calendar. Use the navigation arrows to move between months.
View Timesheets by Week
Click Week tab
The default week is set to current week. To view timesheets for a different week, click on a date within the desired week in the calendar. Use the navigation arrows to move between months.
View Timesheets by Month
Click Month tab.
Choose a particular month and year from the dropdown List.
View Timesheets by Session
Click Session tab.
Shows the timesheets that has been added or edited during the current session.
View Timesheets by Last Days
Click Last Days tab.
Choose range from the dropdown List.
View Timesheets by Filters
Click Filter tab to display the Filter Timesheets window.
Enter the start date in the between field using the Calendar control.
Enter the end date in the And field using the Calendar control.
Select Equipment Code, when applicable
Select Job
Check/Uncheck to Include Disbursement
Click Search button

)
)
)