|
28.3 Enter Contact details |
  
|
|
28.3 Enter Contact details |
|
28.3.1 Click on the "Contact" tab
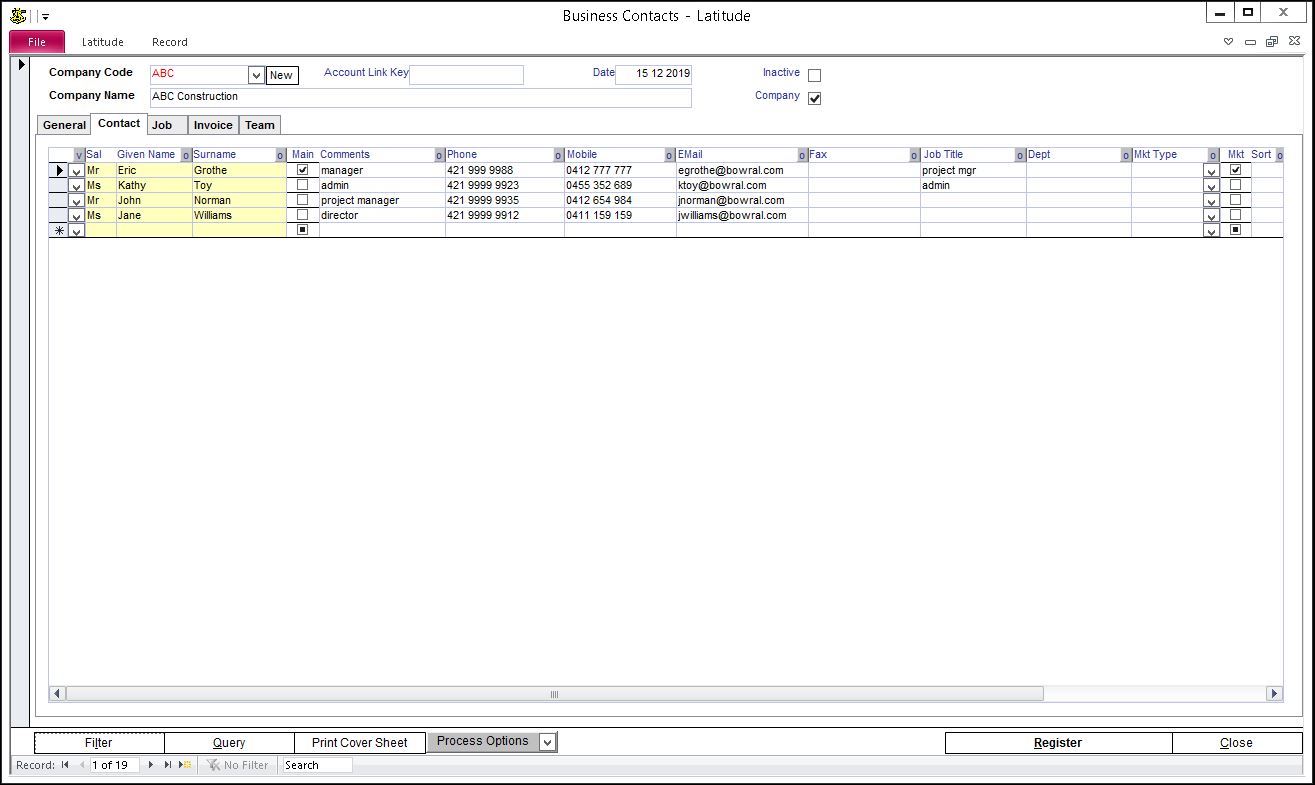
Enter details for the contact. Assign a contact person as the default addressee in mailing labels, invoices, and other places by clicking on the check box next to the Contact Person's name under the "Main" column.
28.3.2 Categorize Clients Contacts by Market Type and Status
You can categorize a client's contacts market type by typing in the textfield under Mkt Type header. To add the Market Type of your contact list, type the Market Type in the Mkt Type drop-down
Categorize the status of a client's contacts by flagging them as current or non-current. Click the textbox (right-most column) to toggle between yes or no. You can click the header to toggle between current and show all.
Current - shows only the contacts flagged as current. Default display
All - shows all contacts flagged as current or non-current
If the contact is flagged as non-current, it will not appear as selectable in most of the Contact dropdowns in different screens of Latitude
28.3.3 To add / view more details about a contact, double click the contact's name (anywhere in the blue area). This opens the Contacts screen containing the person's details.
In addition to the details you can edit on the Business Contacts "Contacts" tab, you can enter Job Title, Office Address and Postal Address when the contact person works in a different office from the Client.
To access the Clients Contacts screen from the Main Menu, click on the "Contacts" button on the "Main" column.

)